You are viewing an old version of this page. View the current version.
Compare with Current
View Page History
« Previous
Version 2
Next »
If prospective operators need additional support on this guide, drop us a line on our Technical Support channel in our Discord.
NULS agent node setup steps:
| Step | Image |
|---|
Ensure you have at least 20,000 NULS in a single address in your wallet and that your wallet is fully synced to the blockchain If your coins are located in an exchange, you're going to need a little bit (to pay for the network transaction fee) of NULS to send at least 20,000 coins to your wallet.
| |
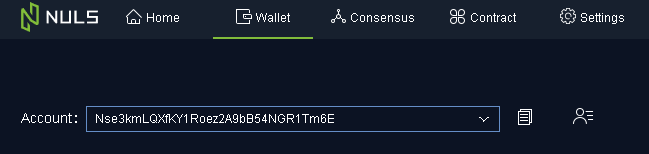
Make a note of your Agent Address - Open your NULS "collateral" wallet (the wallet that contains all your NULS)
- Click the "Wallet" tab at the top
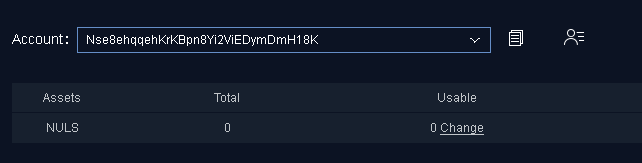
- Pick the appropriate account from the drop down "Account:" window at the top that has your NULS in it
- Click the
 icon to copy the account string that contains your collateral, and save it on your notepad for later. This will be your "AGENT_ADDRESS". icon to copy the account string that contains your collateral, and save it on your notepad for later. This will be your "AGENT_ADDRESS".
| |
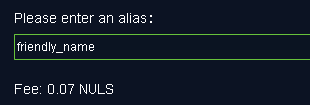
Create an Alias for your Agent Address (Optional) - If you would like your node to have a "friendly name", click on the
 icon icon - Next to your agent address, click the
 icon icon - Type in the name you would like in the alias field
- Click "Confirm" to assign your Agent Address the friendly name
| |
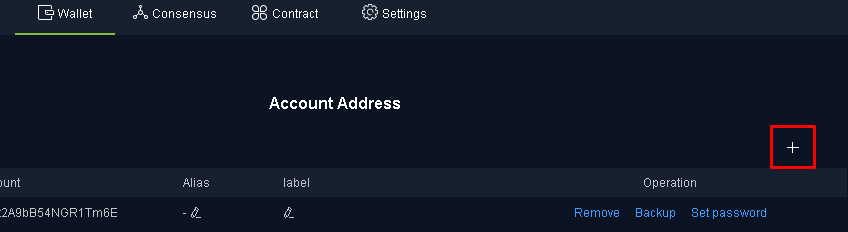
Import your Packing Address using the Packing Key - Click the "Wallet" tab at the top
- Click the icon
- Click the "+" icon in the top right
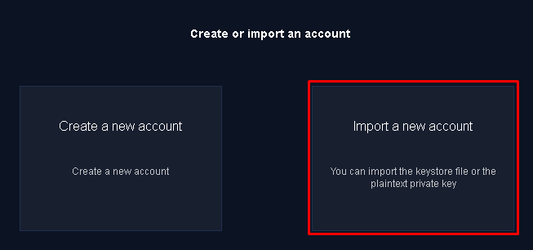
- Click "Import a new account"
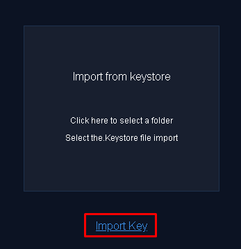
- Click the "Import Key" link below the Keystore box.
- On the Node Forge site, click the copy button next to "Your Unique Setup Information" on the node setup page. This is the "PACKING_KEY" for your agent node.
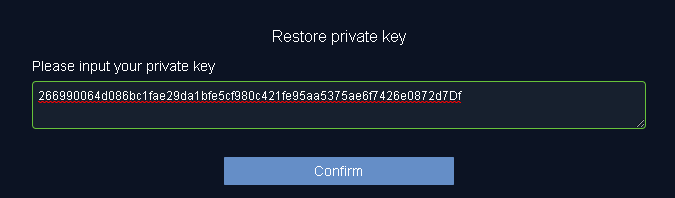
- Paste the "PACKING_KEY" into the "private key" field in your NULS wallet, then click Confirm.
- Click "I do not want to encrypt this account"
- Verify that the "PACKING_ADDRESS" now appears in your list of addresses.
| |
Make a note of your Packing Address - Click the "Wallet" tab at the top
- Pick the new account from the drop down box that appeared after you imported your "PACKING_KEY" in the previous step
- Click the icon to copy the account string that contains your collateral, and save it on your notepad for later. This will be your "AGENT_ADDRESS".
| |
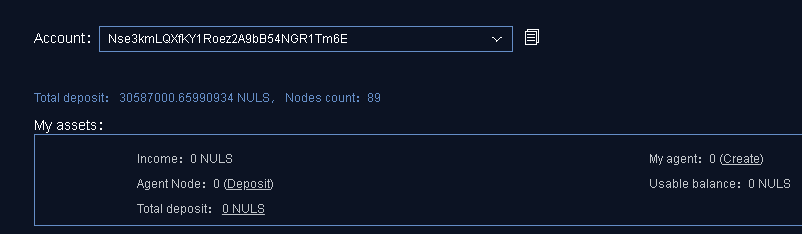
Create your Agent Node - Click the "Consensus" tab at the top
- Click the "Create" link
- In the "Consensus account" drop down box, select your "AGENT_ADDRESS" that contains your NULS
- In the "Packing address" field, type in the "PACKING_ADDRESS"
- In the "Deposit (NULS)" field, type in the amount of NULS you wish to "deposit" as collateral (20,000 is the minimum).
- In the Commission rate (%)" field, type in a percentage of earnings that you want to keep as commission. 10% is the minimum, and also the most common selection if you want to attract stakers.
- Click Create.
- If prompted for a password, enter the password for your "AGENT_ADDRESS" that you set previously
- You should get a brief notice indicating the agent was created successfully.
| |
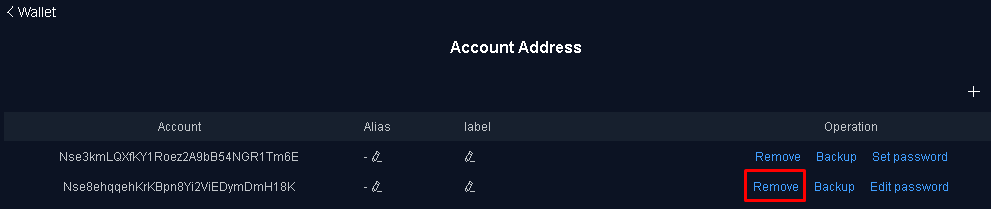
Remove the "PACKING_ADDRESS" from your wallet - Click the "Wallet" tab at the top
- Click the icon
- Click the "Remove" link next to the "PACKING_ADDRESS" that you received from us.
- Click "Confirm" to remove the address.
| |
Click Validate on the Node Forge website - Once you have created your agent node and removed the packing address, click "Validate"
- Your node will be finalized and you'll be returned to your Node Forge dashboard. You're done!
| |