| Step | Image |
|---|
Ensure you have at least 20,000 NULS in a single address in your wallet and that your wallet is fully synced to the blockchain If your coins are located in an exchange, you're going to need a little bit (to pay for the network transaction fee) of NULS to send at least 20,000 coins to your wallet.
| |
Make a note of your Agent Address - Open your NULS "collateral" wallet (the wallet that contains all your NULS)
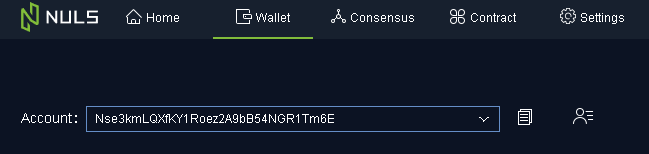
- Click the "Wallet" tab at the top
- Pick the appropriate account from the drop down "Account:" window at the top that has your NULS in it
- Click the
 Image Removed icon to copy the account string that contains your collateral, and save it on your notepad for later. This will be Take note of this address. This is your "AGENT_ADDRESS". , which will be used to set up your NULS agent node. Image Removed icon to copy the account string that contains your collateral, and save it on your notepad for later. This will be Take note of this address. This is your "AGENT_ADDRESS". , which will be used to set up your NULS agent node.
| |
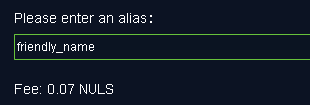
Create an Alias for your Agent Address (Optional) - If you would like your node to have a "friendly name", click on the
 icon icon - Next to your agent address, click the
 icon icon - Type in the name you would like in the alias field
- Click "Confirm" to assign your Agent Address the friendly name
| |
Import Copy your Packing Address using the Packing KeyClick the "Wallet" tab at the topClick the Image Removed iconClick the "+" icon in the top rightClick "Import a new account"Click the "Import Key" link below the Keystore box.On the from the Node Forge site 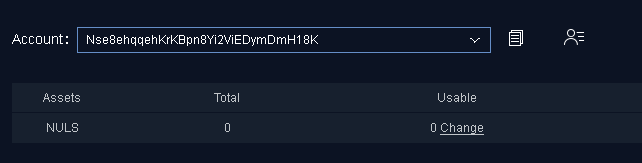 Image Removed Image Removed- On Node Forge site, click the copy button next to "Your Unique Setup Information" on the node setup page. This is the "PACKING_KEY" for your agent node.
- Paste the "PACKING_KEY" into the "private key" field in your NULS wallet, then click Confirm.
- Click "I do not want to encrypt this account"
- Verify that the "PACKING_ADDRESS" now appears in your list of addresses.
| 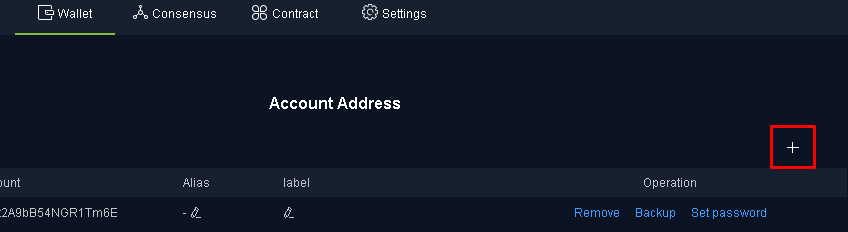 Image Removed Image Removed
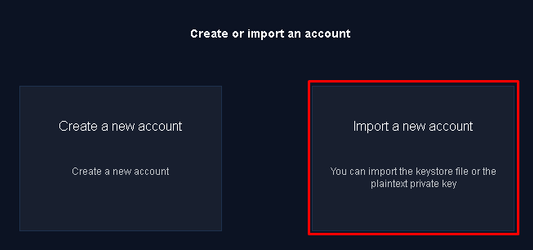 Image Removed Image Removed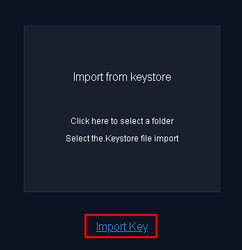 Image Removed Image Removed
 Image Removed Image Removed
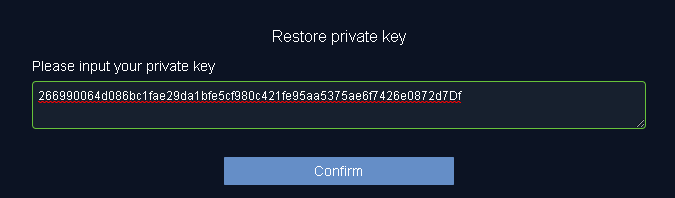 Image Removed Image Removed
 Image Removed Image Removed
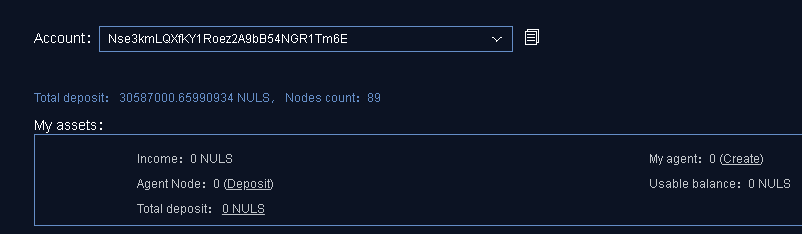
| Make a note of your Packing Address - Click the "Wallet" tab at the top
- Pick the new account from the drop down box that appeared after you imported your "PACKING_KEY" in the previous step
- Click the Image Removed icon to copy the account string that contains your collateral, and save it on your notepad for later. This will be your "AGENT_ADDRESS".
| - under the My Nodes page, expand your node, then click on the "complete setup" link.
- Click the "Copy" button to copy your "PACKING_ADDRESS" to your clipboard.
|  Image Added Image Added
|
Create your Agent Node - Click On your NULS wallet, click the "Consensus" tab at the top
- Click the "Create" link
- In the "Consensus account" drop down box, select your "AGENT_ADDRESS" that contains your NULS
- In the "Packing address" field, type paste in the your "PACKING_ADDRESS"
- In the "Deposit (NULS)" field, type in the amount of NULS you wish to "deposit" as collateral (20,000 is the minimum).
- In the Commission rate (%)" field, type in a percentage of earnings that you want to keep as commission. 10% is the minimum, and also the most common selection if you want to attract stakers.
- Click Create.
- If prompted for a password, enter the password for your "AGENT_ADDRESS" that you set previously
- You should get a brief notice indicating the agent was created successfully.
| 

Remove the "PACKING_ADDRESS" from your wallet - Click the "Wallet" tab at the top
- Click the Image Removed icon
- Click the "Remove" link next to the "PACKING_ADDRESS" that you received from us.
- Click "Confirm" to remove the address.
| Warning |
|---|
It's critical that you remove this address, or your node will receive a red card from the consensus and be permanently disabled. |
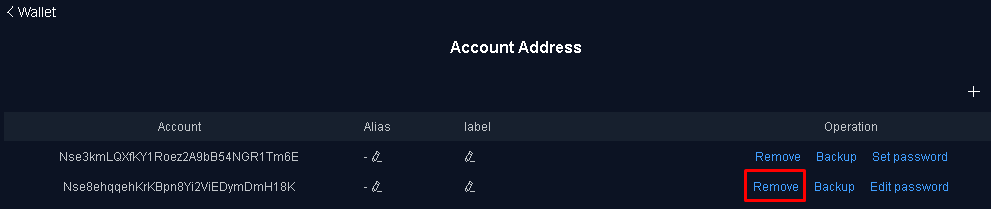 Image Removed Image Removed
|
Click Validate on the Node Forge website - Once you have created your agent node and removed the packing address, click "Validate"
- Your node will be finalized and you'll be returned to your Node Forge dashboard. You're done!
| |