...
| Step | Image |
|---|---|
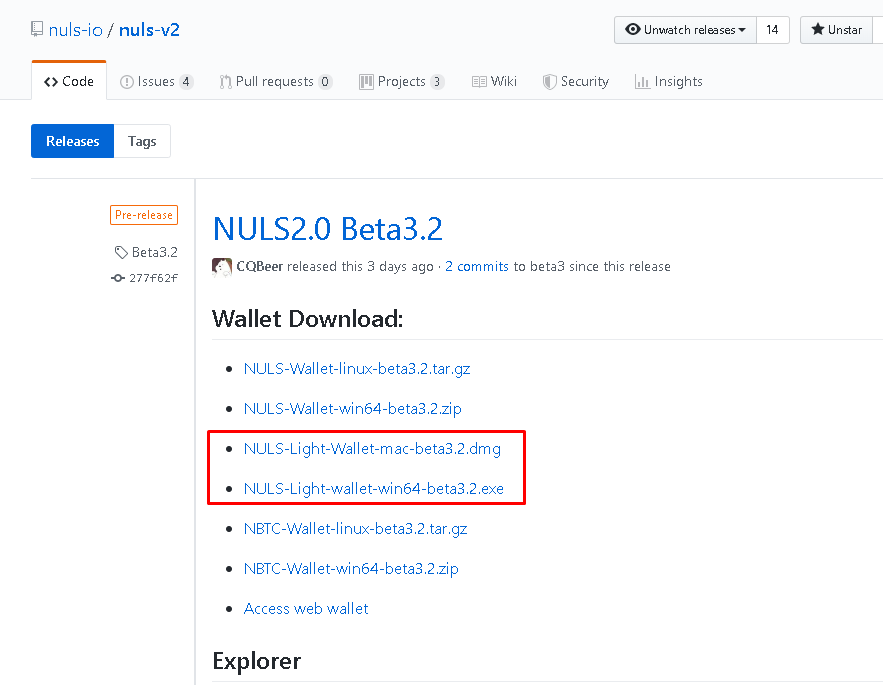
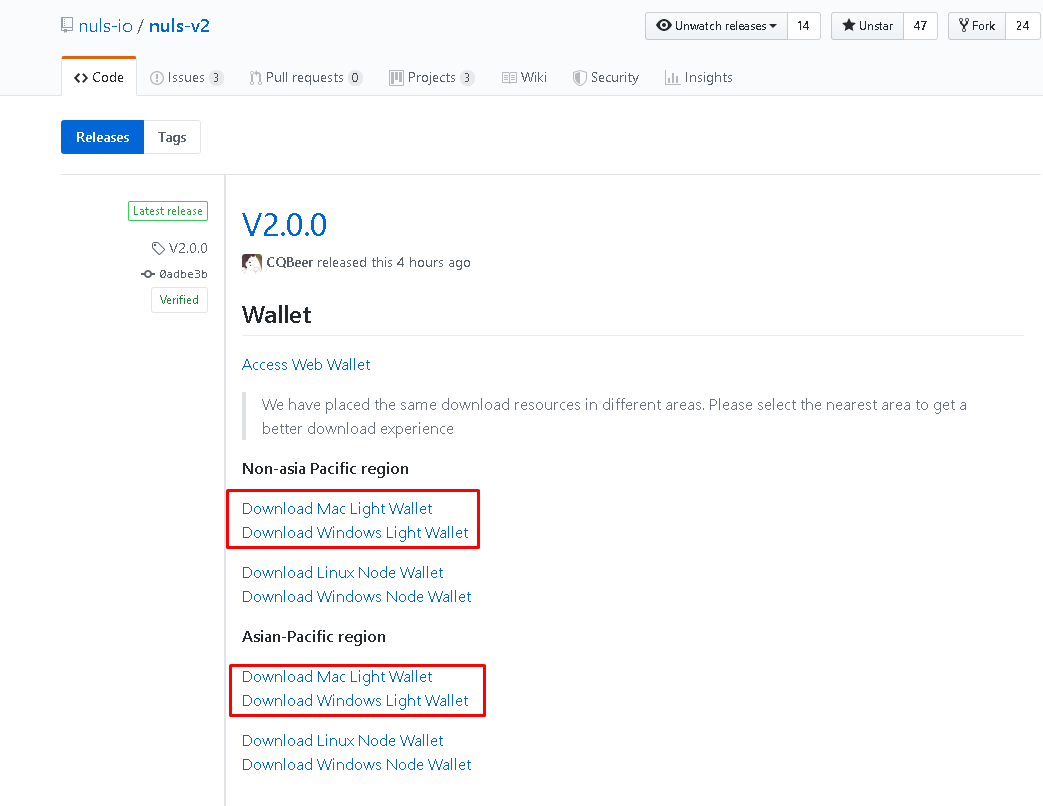
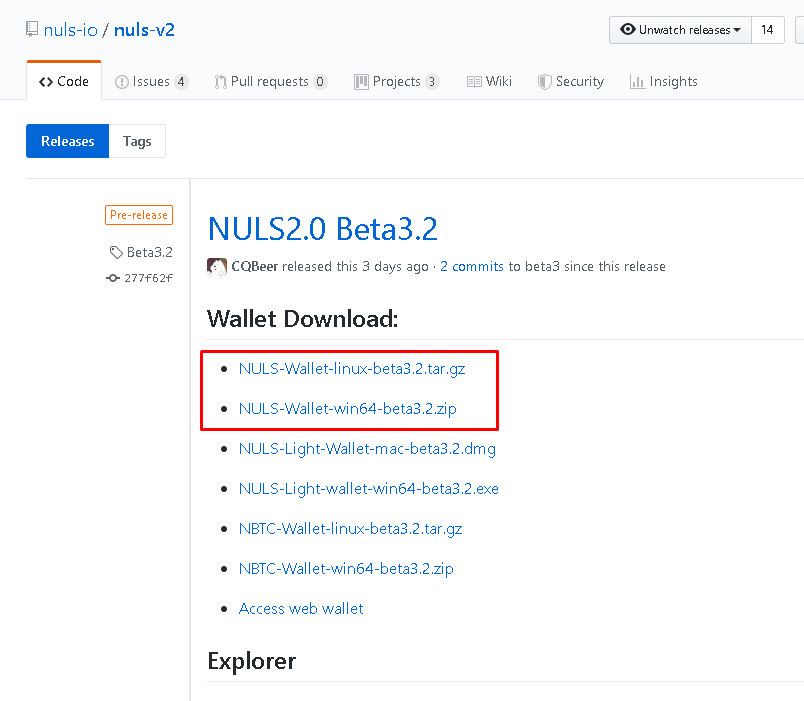
Download the NULS Wallet Software Depending on your OS, download the proper NULS light wallet for your computer. Note, the image shows "Beta" but will be updated with the release of the official 2.0 mainnet software https://github.com/nuls-io/nuls-v2/releases There is no longer a "full client" in NULS 2.0. Instead, you can install and use a "light wallet" which does not require synchronizing blocks with the network, so it's much faster and more reliable than before.
|
|
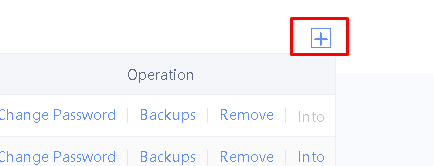
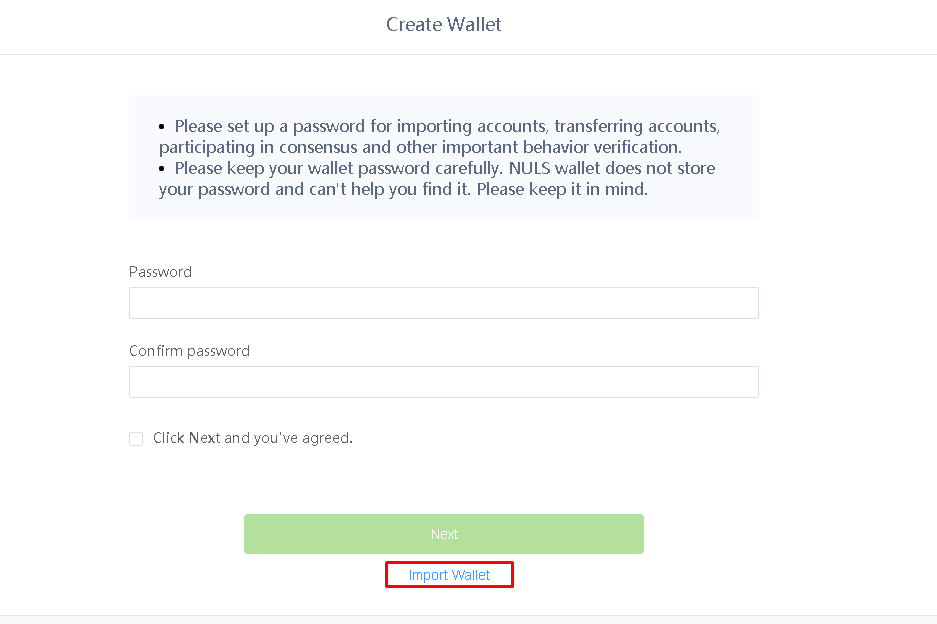
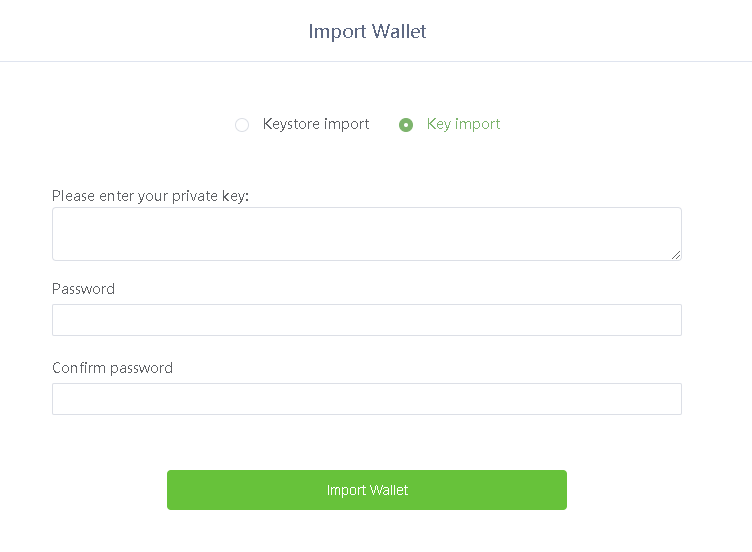
Import your Private Keys Once opened, you will initially be presented with a page where you can create a new key or import your existing one.
If you do not run a NULS Agent node, you're done! You have successfully transferred your wallet addresses from your 1.0 NULS wallet to your 2.0 NULS wallet. |
|


...
| Step | Image | ||||||||||
|---|---|---|---|---|---|---|---|---|---|---|---|
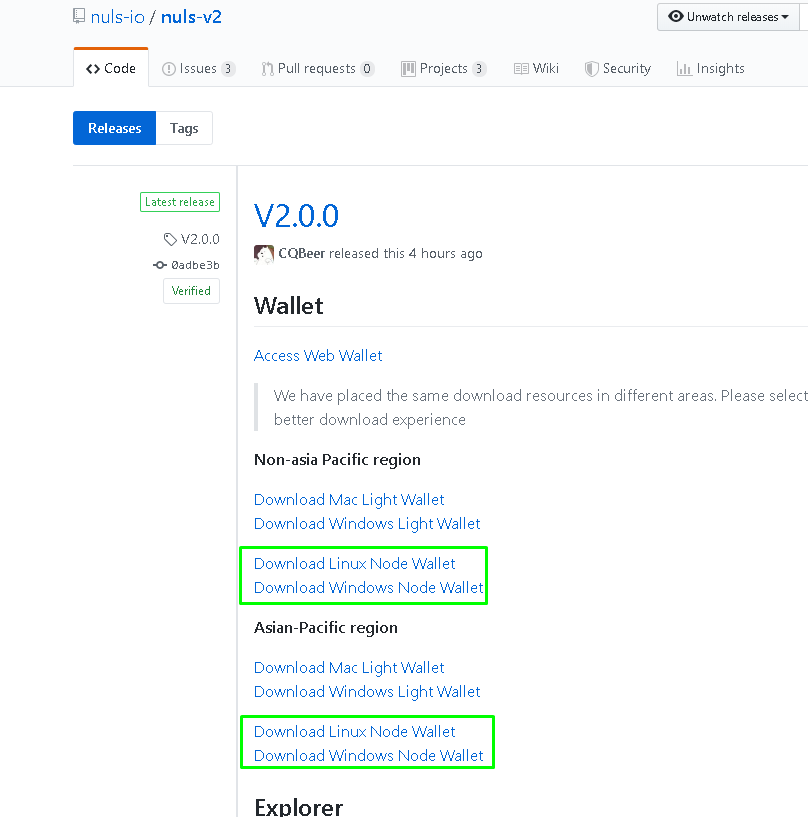
Download and extract the NULS 2.0 software You can most likely use your previous NULS 1.0 server as long as it meets the system requirements for NULS 2.0. If you need a server, we recommend using Digital Ocean.
You can always find the latest releases for NULS 2.0 on the official github: https://github.com/nuls-io/nuls-v2/releases
|
| ||||||||||
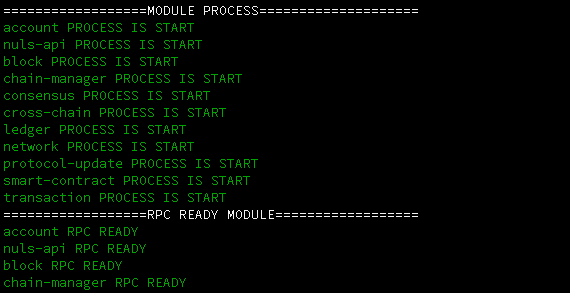
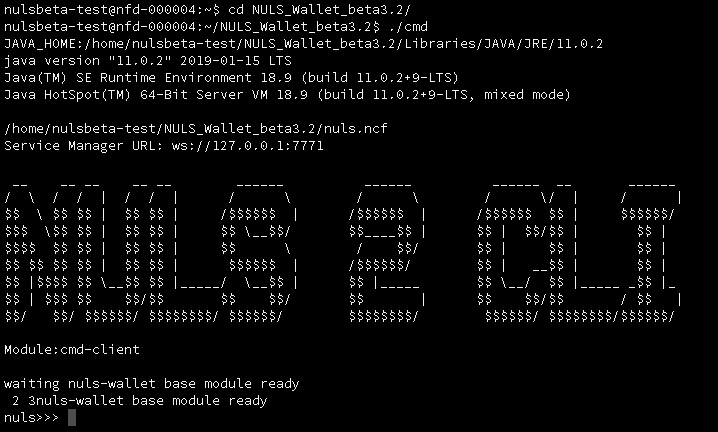
Start the node software
You'll see a "nuls>>>" prompt when the initialization is finished. |
| ||||||||||
Import your packing address key (optional)
Create a packing address (optional)
|
| ||||||||||
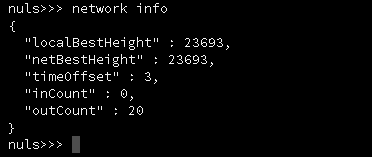
Check your block height before creating your agent Before proceeding, make sure your agent node is fully synchronized with the network
|
|


...
| Step | Image |
|---|---|
Ensure you have at least 20,000 NULS in a single address in your wallet and that your wallet is fully synced to the blockchain If your coins are located in an exchange, you're going to need a little bit (to pay for the network transaction fee) of NULS to send at least 20,000 coins to your wallet. | |
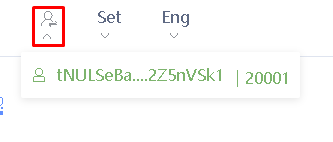
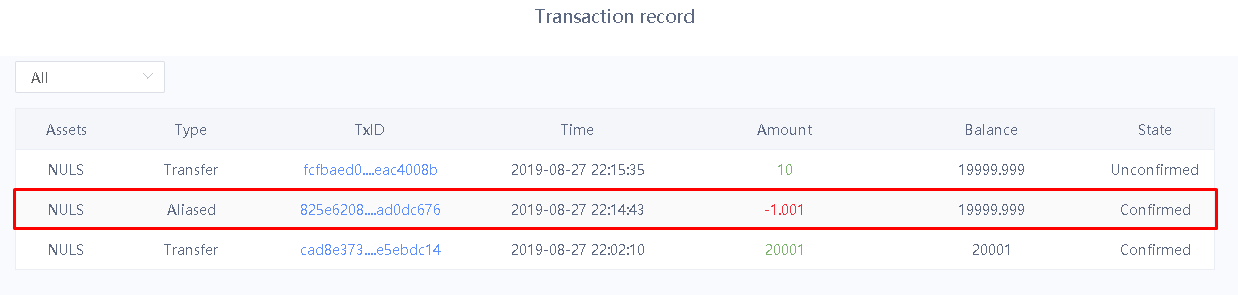
Make a note of your Agent Address
|
|
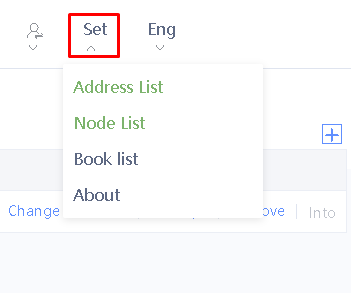
Create an Alias for your Agent Address (Optional)
|
|
If Hosting with Node Forge, copy your Packing Address from the Node Forge Site
If Hosting your own node, make note of your packing address from Phase 4 and proceed to the next step. |
|
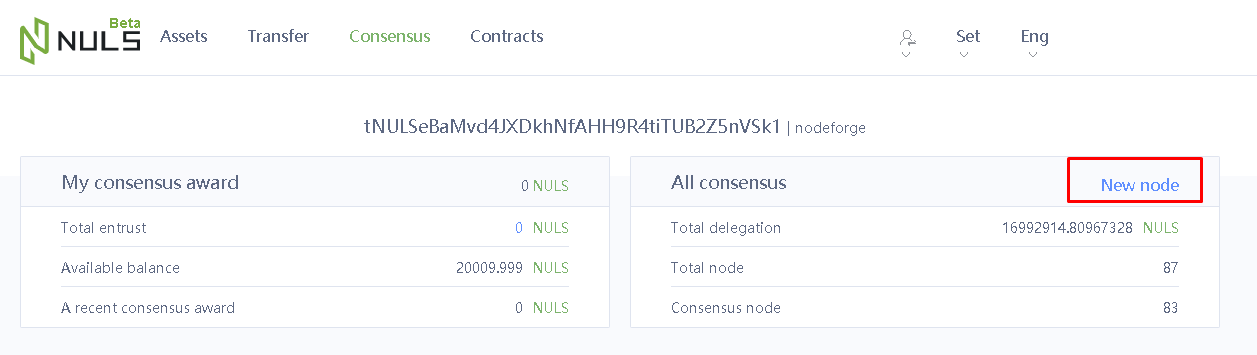
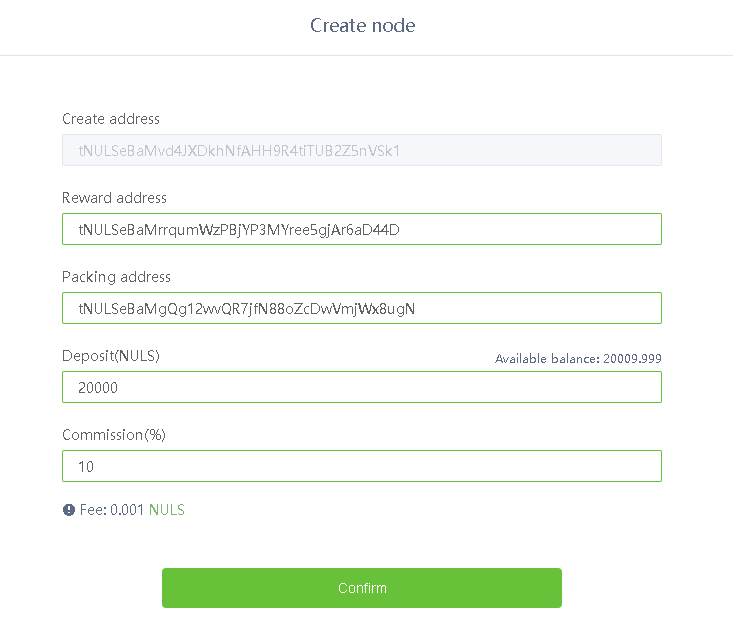
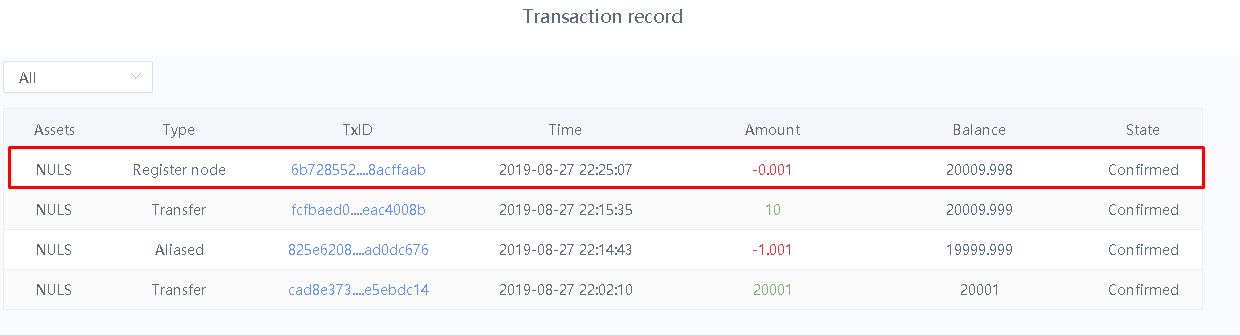
Create your Agent Node
|
|
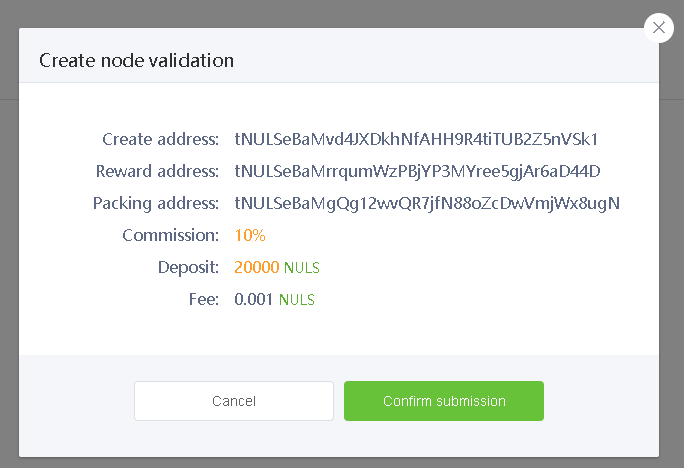
Click Validate on the Node Forge website
| |
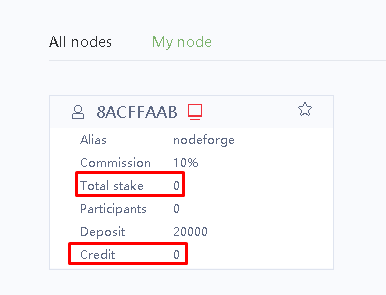
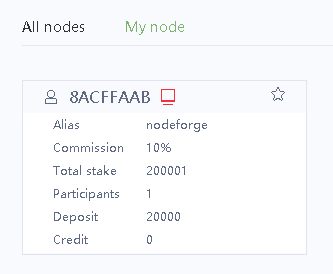
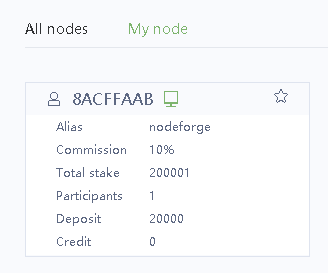
Activating your Agent Node and Joining Consensus Once your node is set up, you'll need to attract stakers in order to raise your "Total Stake" and join Consensus. You will not receive rewards until you have reached at least 200,000 Total Stake. Your node will start at 0 Credit and 0 Stake. Once you gain 200,000 or more stakers, you will see your node icon change from red to green, your credit will gradually rise from 0 to 1 by .02 every round, and you will begin to earn rewards. You can check your node's participation in the consensus by visiting http://nulscan.io/consensus and clicking on the "Consensus" tab, then clicking "Round Info". |
|


...